You want to roast green chiles in the oven? The process uses high heat to char the skin, which brings out bold flavor. You can do this at home with just a few simple steps. Oven roasting lets you enjoy fresh, smoky chiles any time.
Key Takeaways
Choose fresh, firm chiles for the best flavor. Look for shiny skins and avoid any with soft spots.
Roast chiles at 450°F or use the broil setting. Flip them halfway through to ensure even charring.
After roasting, steam the chiles in a covered bowl for easier peeling. Store roasted chiles in the fridge or freeze for later use.
What You Need
Ingredients
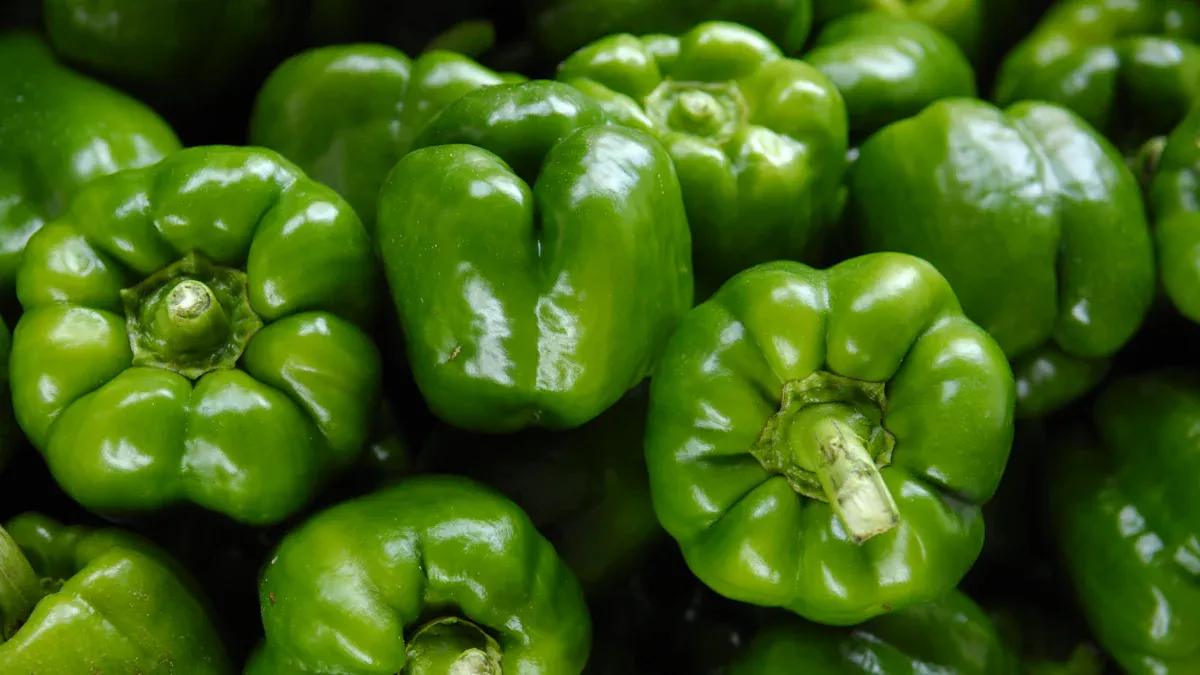
You only need a few things to get started. The most important ingredient is the chiles themselves. Many people love using fresh hatch chiles because they have a great flavor and roast well in the oven. You can also try other types if you like. Here are some common choices:
Hatch green chiles
Anaheim chiles
Poblano peppers
Other mild or medium green chiles
Pick chiles that look firm and shiny. Avoid any with soft spots or wrinkles. Fresh chiles will give you the best results.
Equipment
You do not need fancy tools to roast green chiles at home. Most kitchens already have what you need. Here is a list of the basic equipment:
Oven: Set your oven to 450°F for roasting.
Baking sheet: You will use a baking sheet to hold the chiles. Make sure it is large enough to fit all your chiles in a single layer.
Aluminum foil: Line your baking sheet with foil. This makes cleanup much easier.
Tongs: Use tongs to flip the chiles while they roast. This keeps your hands safe from the heat.
Gloves: If you want to protect your skin from hot peppers, wear gloves when handling the chiles.
Cooling rack or large plate: After roasting, place the chiles on a rack or plate to cool before peeling.
Tip: Always arrange your chiles in a single layer on the baking sheet. This helps them roast evenly and makes flipping easier.
You now have everything you need to start roasting green chiles in your oven.
How to Roast Green Chiles
Prep Chiles
Getting your chiles ready is the first step in learning how to roast chile peppers. Start by washing each chile pod under cool water. Use your hands to rub away any dirt. Pat the chiles dry with a clean towel. Dry chiles roast better and develop a nice char.
Next, line a rimmed baking sheet with aluminum foil. This makes cleanup easy. Arrange the chiles in a single layer on the baking sheet. Make sure the chiles do not overlap. Leave a little space between each one so the heat can reach all sides. Use a fork to poke a few holes in each chile. This step helps prevent the chiles from bursting while they roast.
Set your oven to broil or preheat it to 450°F. Both settings work well for roasting. If you want to roast hatch chiles, follow the same steps. Place the baking sheet on the middle rack if you use 450°F, or on the top rack if you use broil.
Tip: Always use gloves if you have sensitive skin. Some chiles can cause irritation.
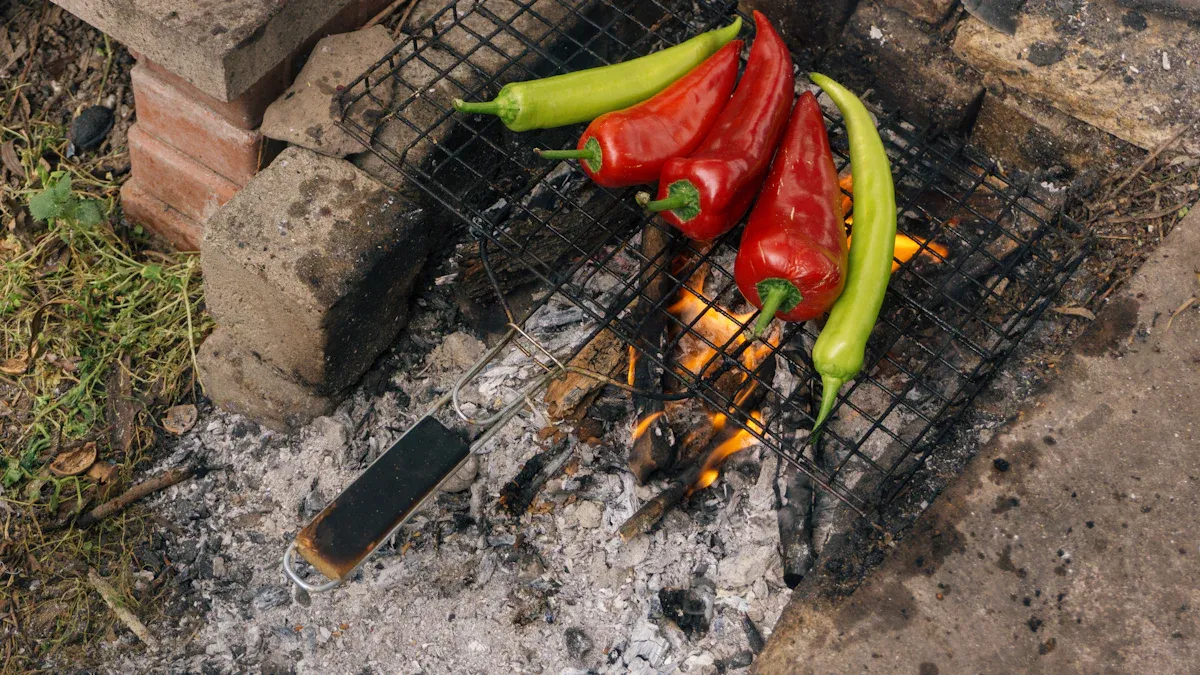
Roast Chile Peppers
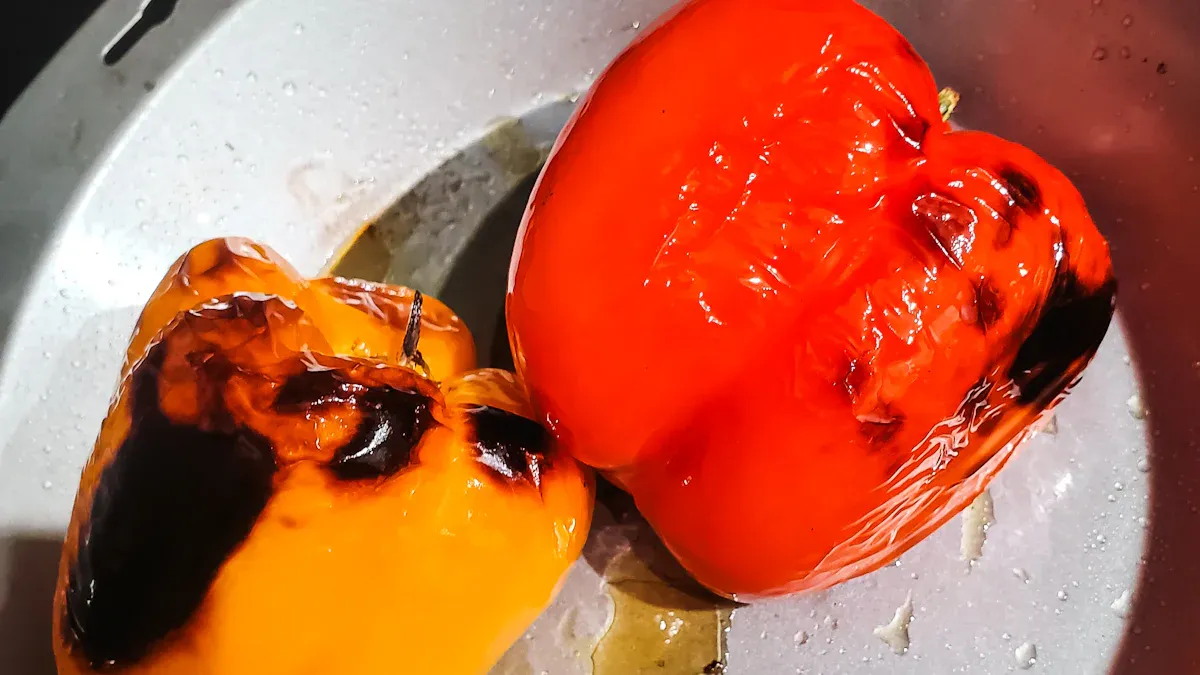
Now you are ready to roast chile peppers. Slide the baking sheet into the oven. Let the chiles roast for about 5 to 7 minutes. Keep an eye on them. The skin will start to blister and turn black in spots. This is what you want.
After the first side blisters, use tongs to flip each chile over. Roast chile peppers on the other side for another 5 to 7 minutes. You want the skin to look black and charred all over. Most chiles finish roasting in 10 to 15 minutes.
If you wonder how to roast chile peppers evenly, make sure you flip them halfway through. This helps every side get the same amount of heat. When you roast green chiles this way, you get a smoky flavor and soft flesh.
Note: Arrange the chiles close together, but never let them overlap. This ensures even roasting.
Peel and Finish
Once you finish roasting, take the baking sheet out of the oven. Move the chiles to a large plate or cooling rack. Let them cool for a few minutes. This makes them easier to handle.
To help loosen the skin, place the hot chiles in a bowl and cover it with a plate. You can also use a paper bag or a sealed plastic bag. Let the chiles steam for about 20 minutes. The steam helps the skin separate from the flesh.
“Once the skins are evenly blistered, remove chiles from heat and spread out on a flat surface in a single layer to cool before peeling.”
When the chiles are cool enough to touch, start peeling off the skin. Use your fingers to gently pull away the charred skin. Try not to peel under running water. This can wash away some of the flavor. If you find any stubborn spots, use a paper towel to rub them off.
You now know how to roast chile peppers from start to finish. The chiles are ready to use in your favorite recipes or to store for later. Roasting brings out the best flavor and makes the skin easy to remove. If you want to know how to roast chile peppers for salsa, enchiladas, or any dish, these steps will help you every time.
Tips and Storage
Tips for Success
What helps you get perfectly roasted green chiles every time?
Use a broiler or set your oven to 450°F for high heat.
Arrange chiles in a single layer with space between them.
Poke holes in each chile with a fork to prevent bursting.
Flip the chiles halfway through roasting so all sides blister evenly.
Watch the chiles closely. Remove them once the skin is mostly blistered to avoid burning.
Tip: Steaming the chiles in a covered bowl or zip-top bag for 15–20 minutes makes peeling much easier.
How to Store Roasted Chiles
What are the best ways to keep your roasted chiles fresh?
Store roasted chiles in the refrigerator for up to 2–3 weeks.
For longer storage, freeze them in airtight bags. They can last a year or more in the freezer if packed well.
You can freeze whole chiles, or peel, core, chop, and then freeze them for easy use later.
Pressure canning in pint jars is another option for long-term storage.
Note: Mold can develop in the fridge in under a week, so check your chiles often.
Troubleshooting
What problems might you face when roasting and peeling green chiles?
Thinner-skinned chiles can be hard to peel.
Pods may tear or split during peeling.
Bits of skin might stick and affect the texture of your dish.
If peeling is tough, use running water to help remove stubborn skin.
Roasted green chiles add smoky flavor and sweetness to many recipes, from stews to dips and casseroles.
Roasting green chiles in your oven is simple and rewarding. Here’s what you need to remember:
Prepare and poke holes in your chiles.
Roast until blistered, then steam and peel.
Freeze for later use.
Many home cooks love the flavor and keep the juices for extra taste.
Misconception | Clarification |
|---|---|
Chile seeds are the source of heat | The veins hold most of the heat, not the seeds. |
Try oven-roasting and share your favorite ways to use roasted chiles!
FAQ
What oven setting works best for roasting green chiles?
You can use broil or set your oven to 450°F. Both settings give you a nice char and smoky flavor.
Tip: Watch the chiles closely so they do not burn.
What should you do if the chiles do not peel easily?
Let the chiles steam longer in a covered bowl or bag. Use a paper towel to rub off stubborn skin.
What is the best way to freeze roasted green chiles?
Place cooled, peeled chiles in airtight bags. Label the bags with the date. You can keep them in the freezer for up to one year.